Standardize - The Forth 5S
Throughout my career, I have been fortunate enough to work with 5S, which has allowed me to assist various businesses in achieving Lean Manufacturing. Each of the factories I worked with had a 5S standard that was taught and regularly audited to ensure the staff in the area adhered to it.
These standards had several common items that were documented, and the only notable difference was the placement of tools and colors used. If you ever have the opportunity to visit a company that implements 5S effectively, you will notice that they follow a similar standard. In this article, I will guide you on how to implement your 5S standard based on the best practices of some of these companies.
These standards all had very common items that were standardized, the only real difference was the colors and placement of tools. If you are lucky to visit a Japanese company that practices 5S, you will see that these companies follow a very similar standard. In this article, I will walk you through how to implement your own 5S standard based on some of these great companies.
Step 1 - List Items In Your Showcase Work Area
You have chosen your first 5S area and you have worked through the first 4S’s in the 5S method and your team has agreed with all of the labeling, signage, parts rack, color coding, and cleaning stations. Now you will need to take pictures of all the items that you have put in place in this area and create a standard.
Create a list of major items that you want to give details on how these items will be completed in the rest of the work areas in your company. This list will be the major items that you will take pictures and describe how you will standardize these areas from this point on. The list should include
- Rack signs
- Rack labels
- Bin labels
- Work area signs
- Colours used in the work area
- Tool boards
- Cleaning stations
- Communication boards in the work area
Step 2 - Take Pictures Of The Items Listed
When you begin writing your standard, the pictures you take from the listed items in your showcase area will be used. For each item, you should include a header, details, and pictures to describe how you want every 5S item to appear in the other work areas.
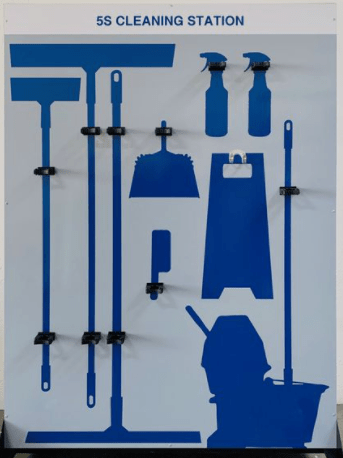
Step 3 - Create Your Standard
With your detailed list and the pictures you took of the detailed list, you are ready to create your standard. This 5S standard will be used as a training and communication tool for any new work areas that will be implementing 5S. Describe the item you are speaking about and show the pictures you took of your showcase area. See below for an example.
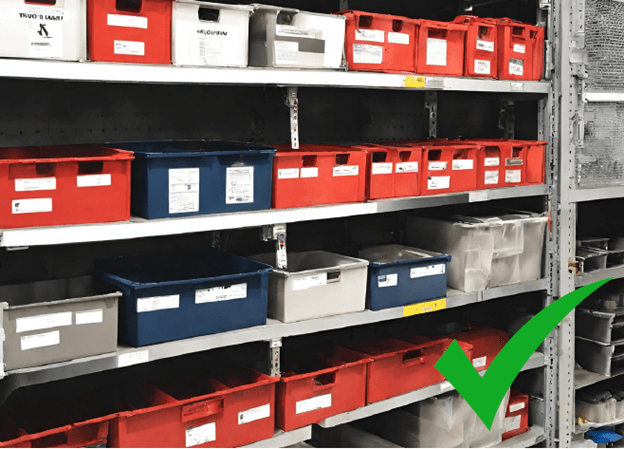
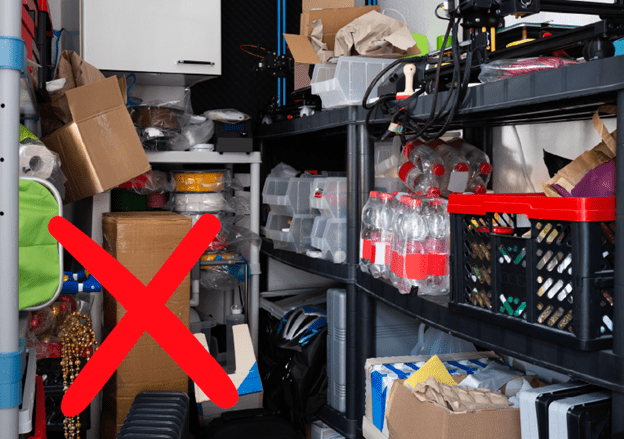
Notice that I added a bad example
in the standard, this is to make sure that staff understand that this is not
acceptable and should be cleaned or organized before your audit.
Step 4 - Making Everything Visual
One of the best factories I walked into was a John Deere factory in Iowa. This factory had some of the greatest 5S visual displays and work areas. Anyone could walk down the assembly line and know exactly where a part was or see any tool that was required to complete the job in that work center.
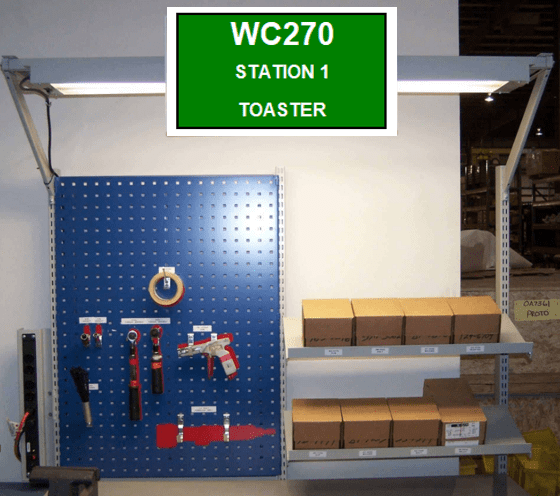
The more visual you make your business, the easier a worker will be able to find what they need to complete the task you are paying them to do. There are a lot of guide lines on 5S visuals on the internet, find the one you like and use it in your business.
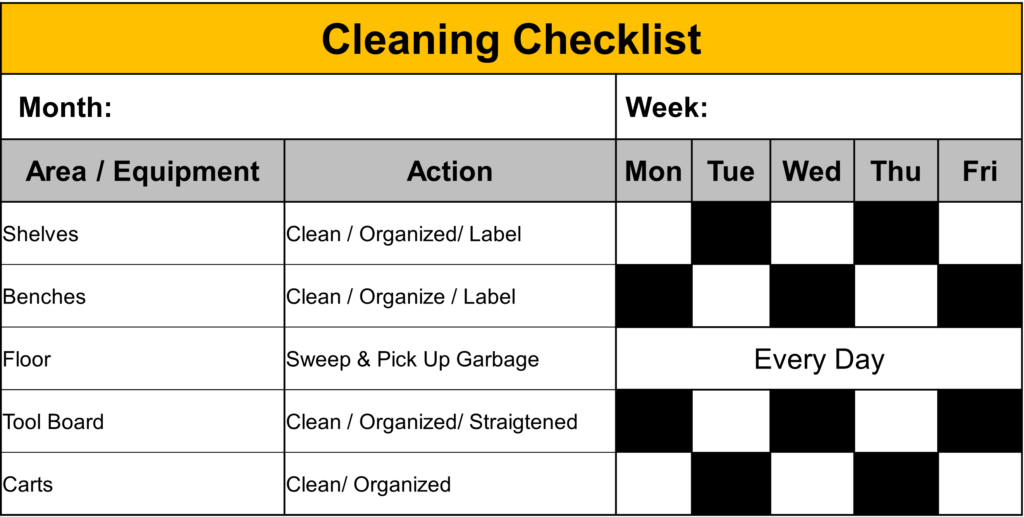
5S Work Area Checklist
Once you have your new standard, you can create a work area checksheet that the staff can complete at the end of each day. This checksheet should include all the necessary actions to be taken from the standard and should be broken up into different days of the week. To help you get started, here’s an example of a 5S checksheet you can use as a guide. However, it’s recommended that you create your own template that suits the specific needs of your business.
